5 Tips on Wedding Flat Lays
January 30, 2020
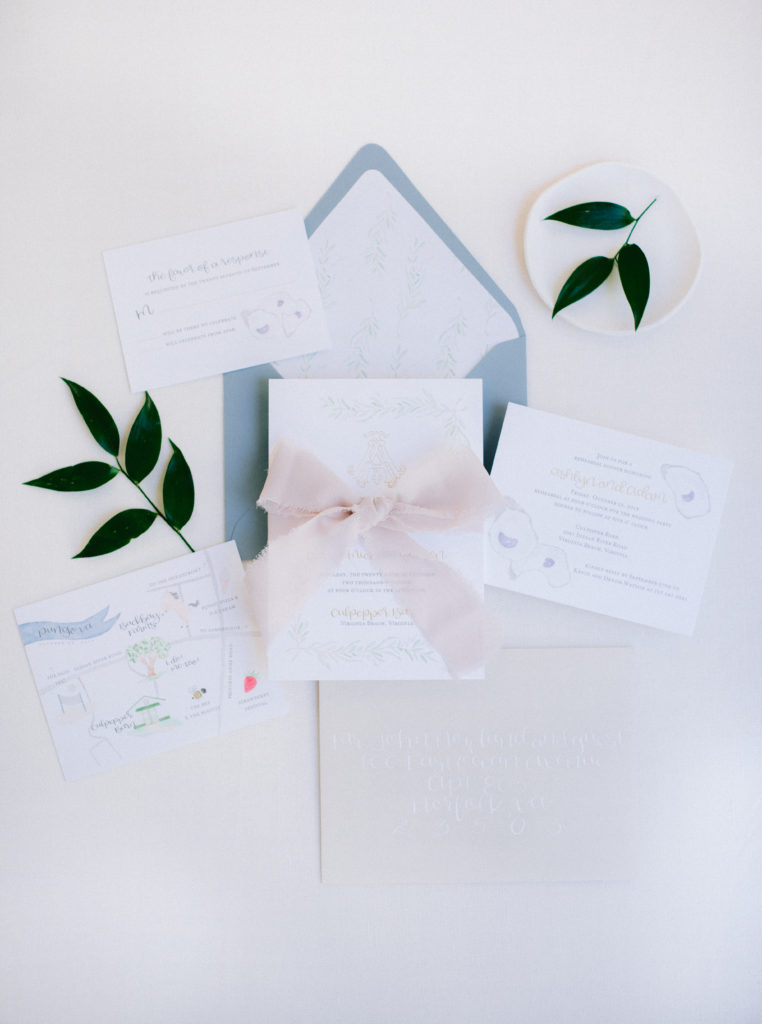
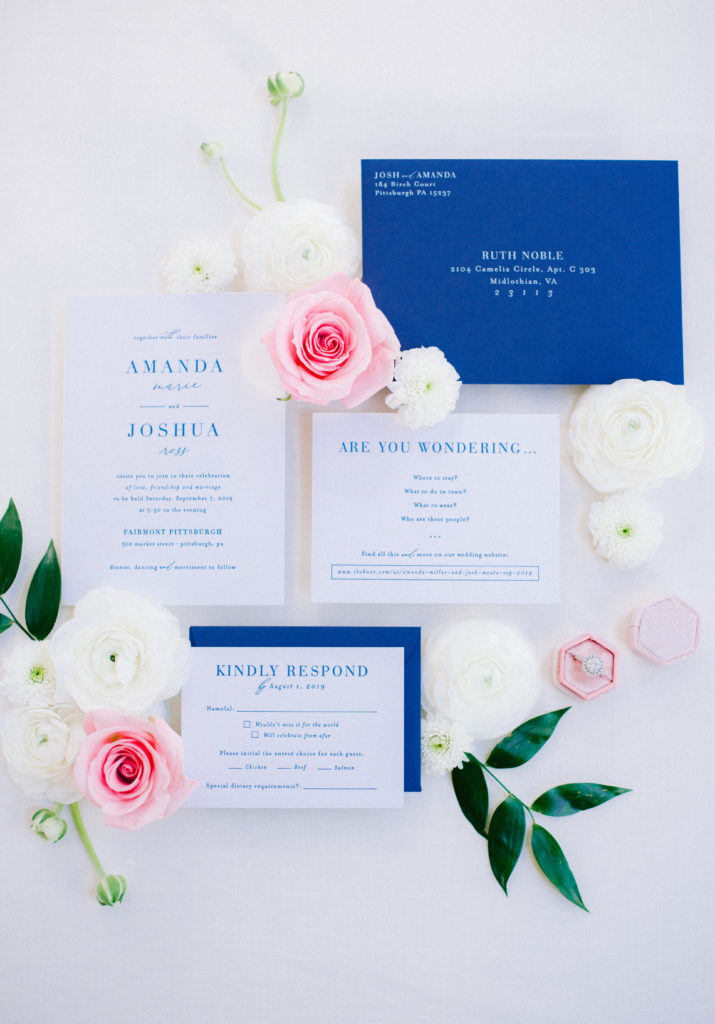
I had the privilege of photographing Kara’s and Lauren’s gorgeous work for this blog tutorial! Kara, over at Kara Anne Co. has her own design shop in Virginia! Lauren is a calligrapher, watercolor artist and custom stationer and you can find more of her work over at Lauren Perry Studio. If you have a special event, baby shower, wedding, or anything else needing custom invitations, look no further because these women are so talented!
Below are 5 steps to help guide you in the process of designing your flat lays.
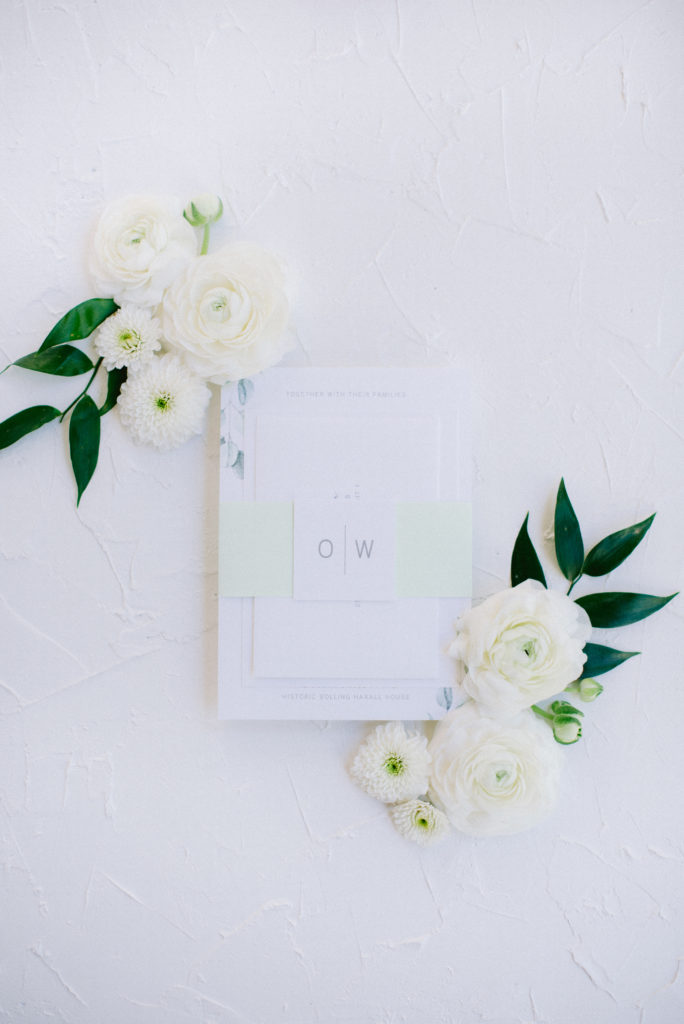
01. Styling Board & Natural Light Are Your Friends
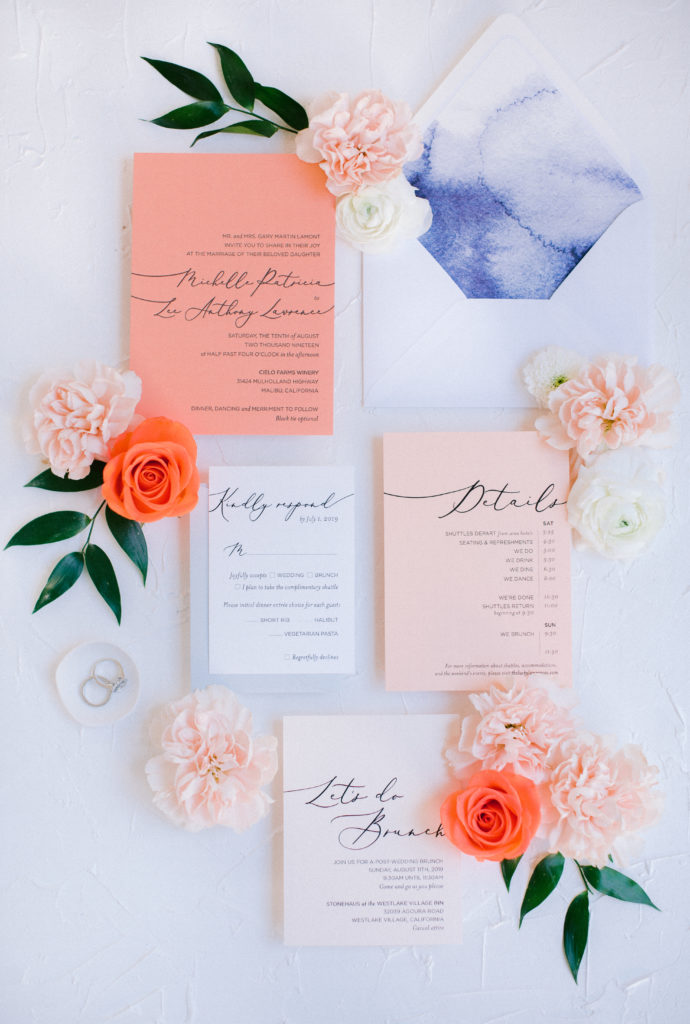
First step is picking out a background that will compliment your invitation suite or what you are trying to style. You can find many styling boards online, Etsy, or you can even make some if you are a DIYer like myself. Linen styling boards are a beautiful touch to just about any flat lay, velvet styling mats make for a rich dramatic effect, and a textured board can add dimension and character. For this blog post, I used a linen mat and a white textured board.
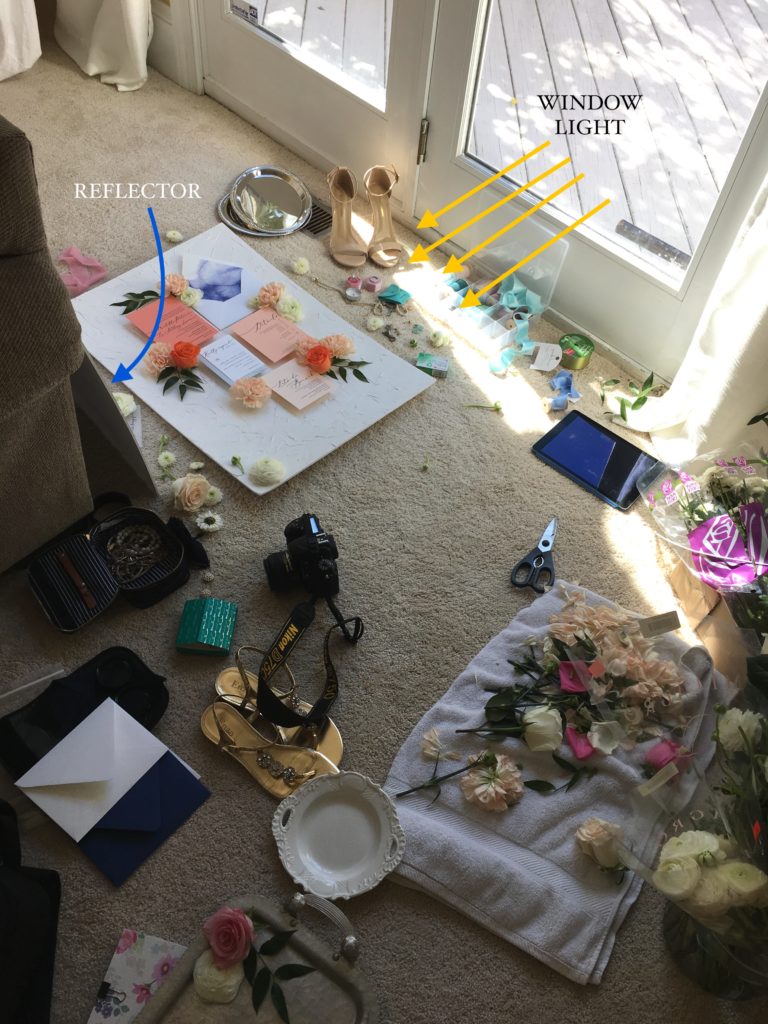
You are going to want to find a large window in the room and set up your board close to that window to bring in all the natural light. You are also going to want to have a reflector or use another styling board that you won’t be using, to bounce the natural window light back on the your styling board you are using.
For example, my board is situated on the ground with the window on the right side with natural light coming in. I then have my white reflector on the left side of my styling board so that way the window light can bounce off of the reflector onto my styling board for more even lighting. My only iPhone picture I managed to snap with the mess of creating these beautiful flat lays, see below:
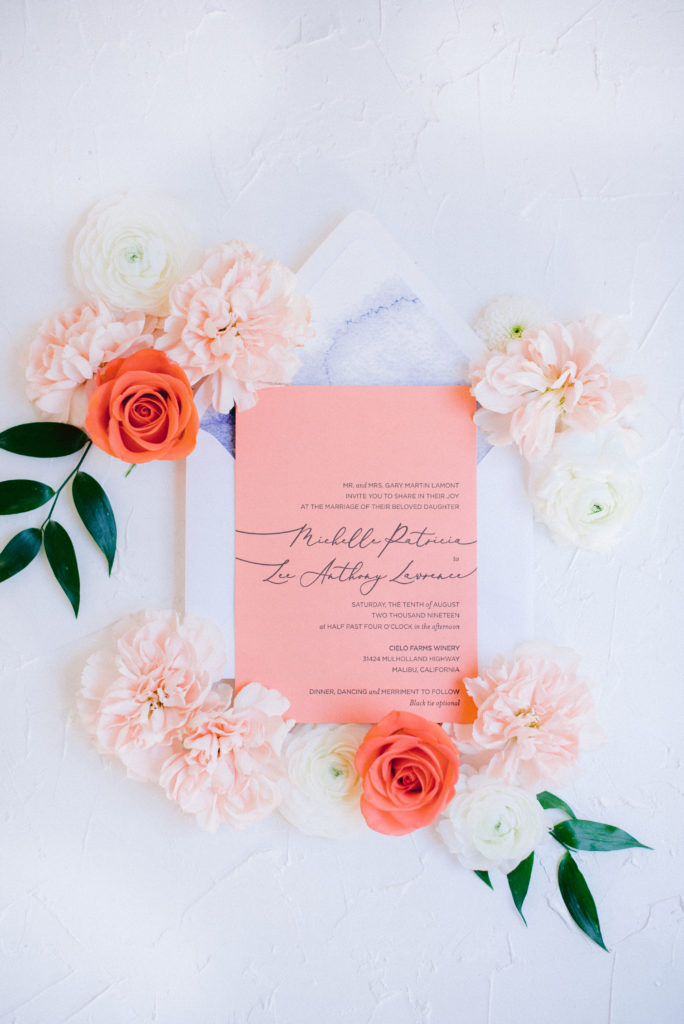
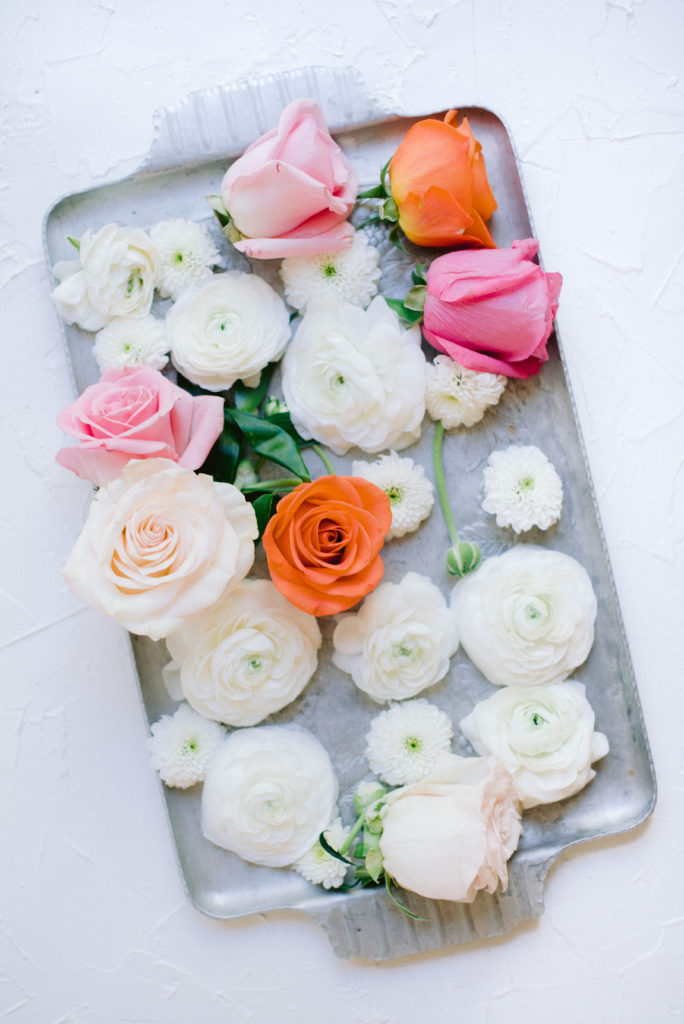
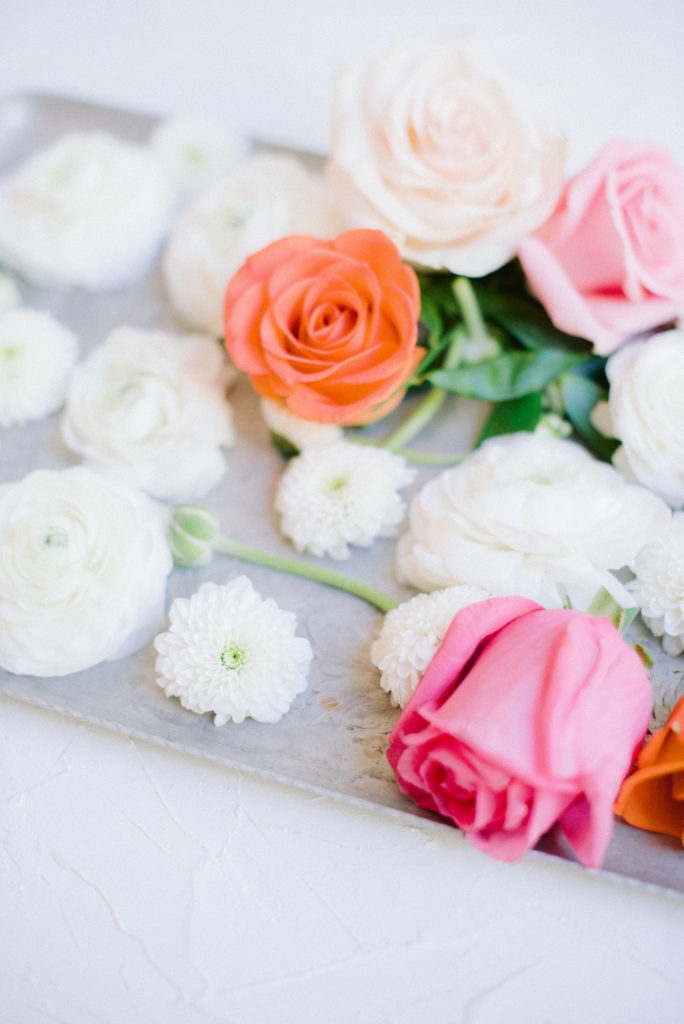
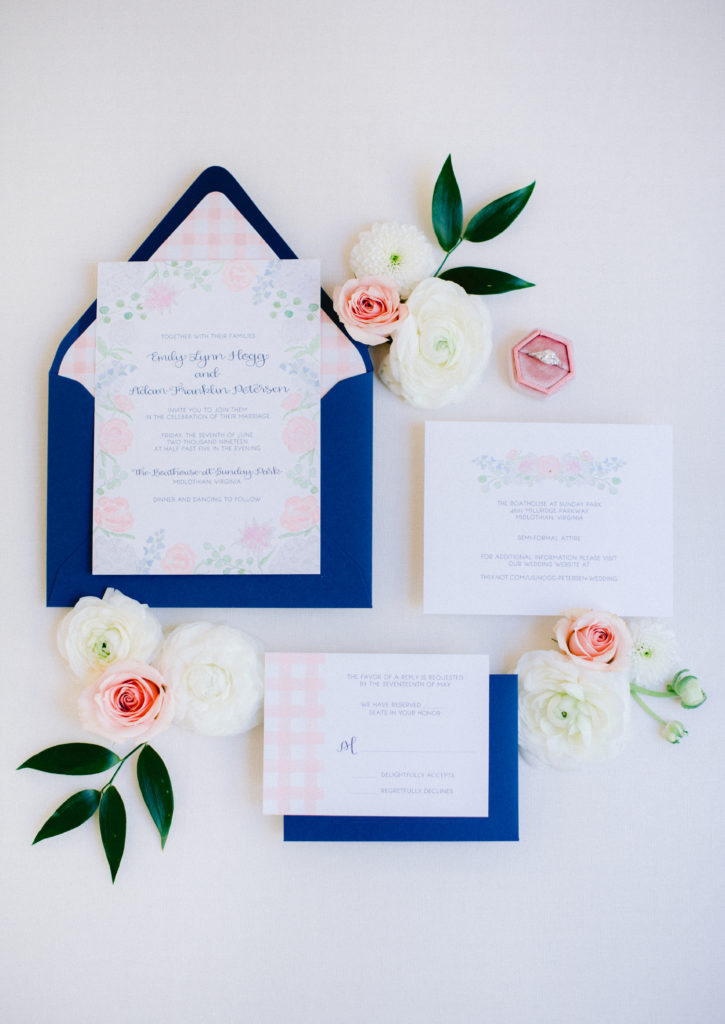
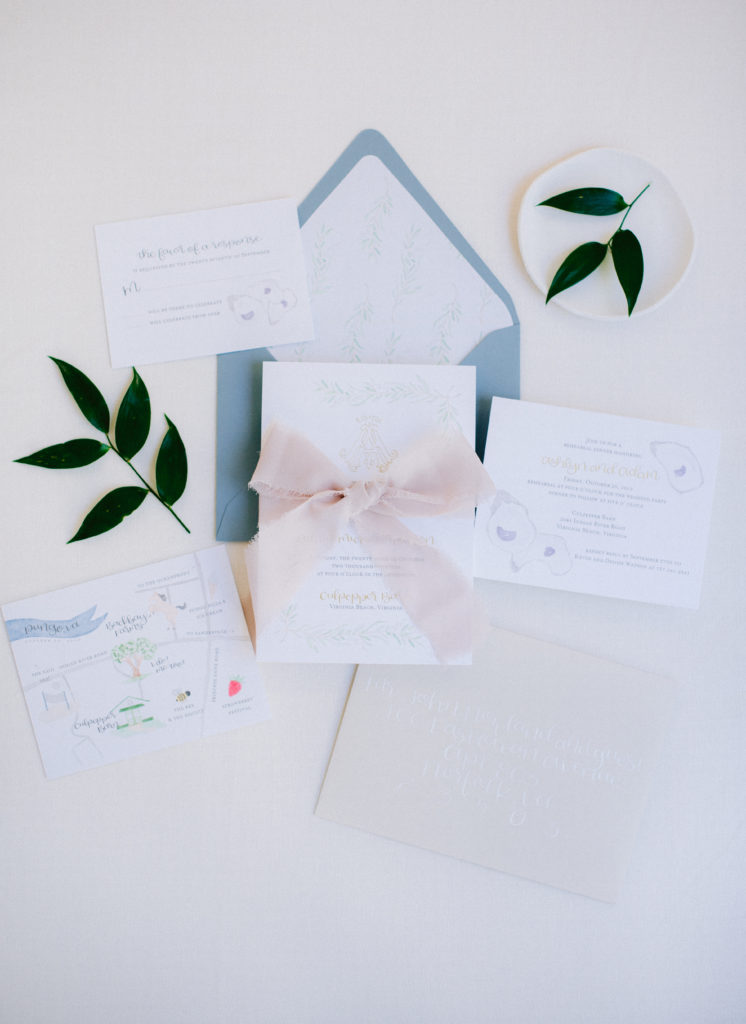
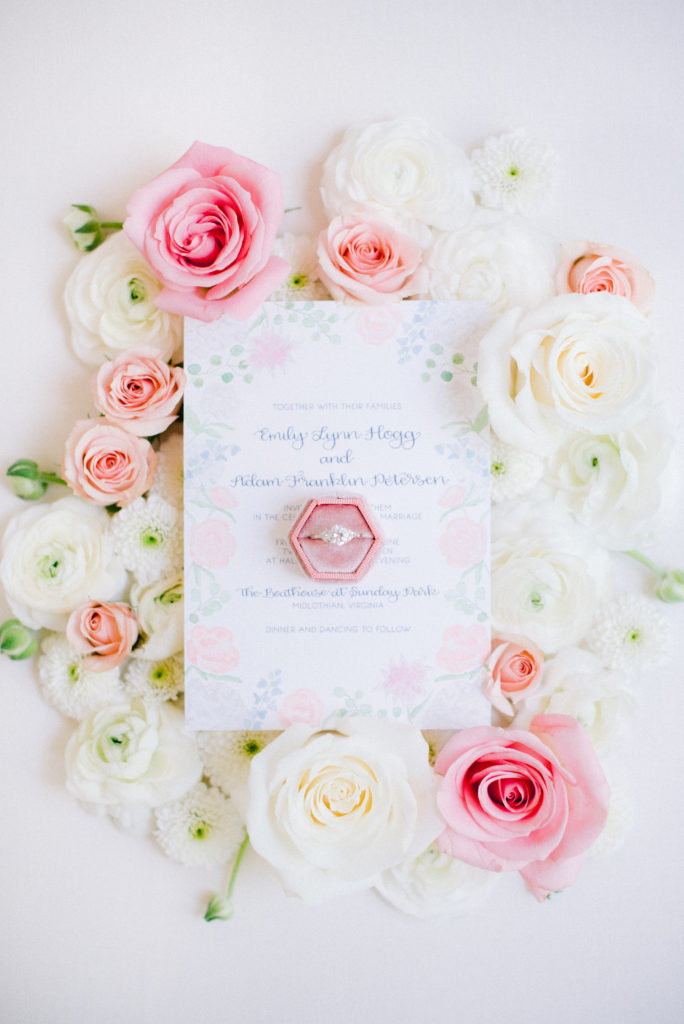
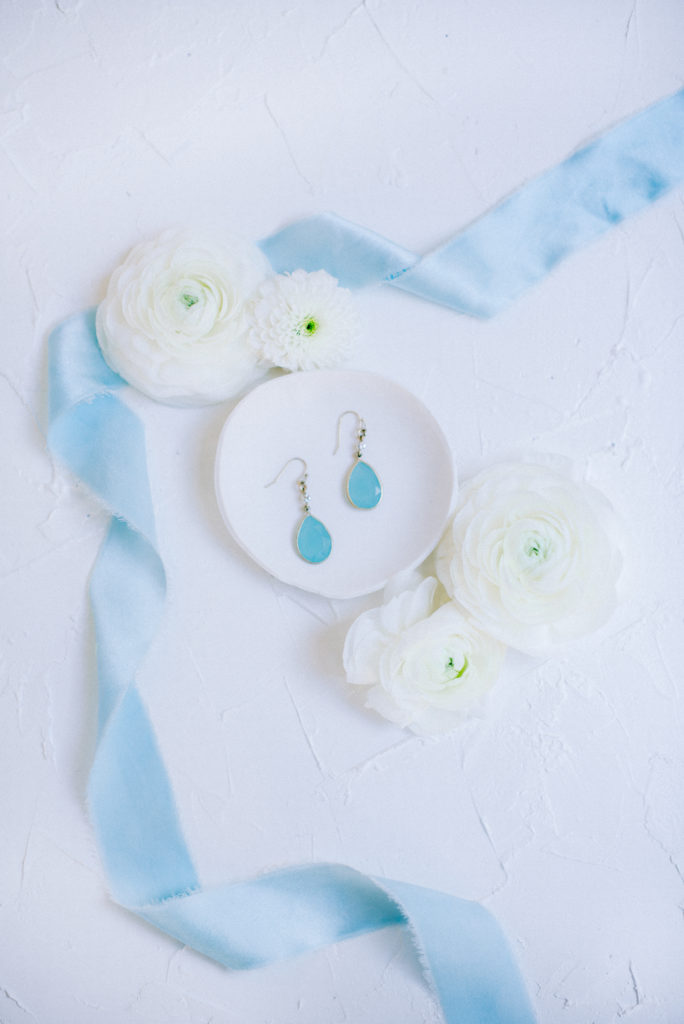
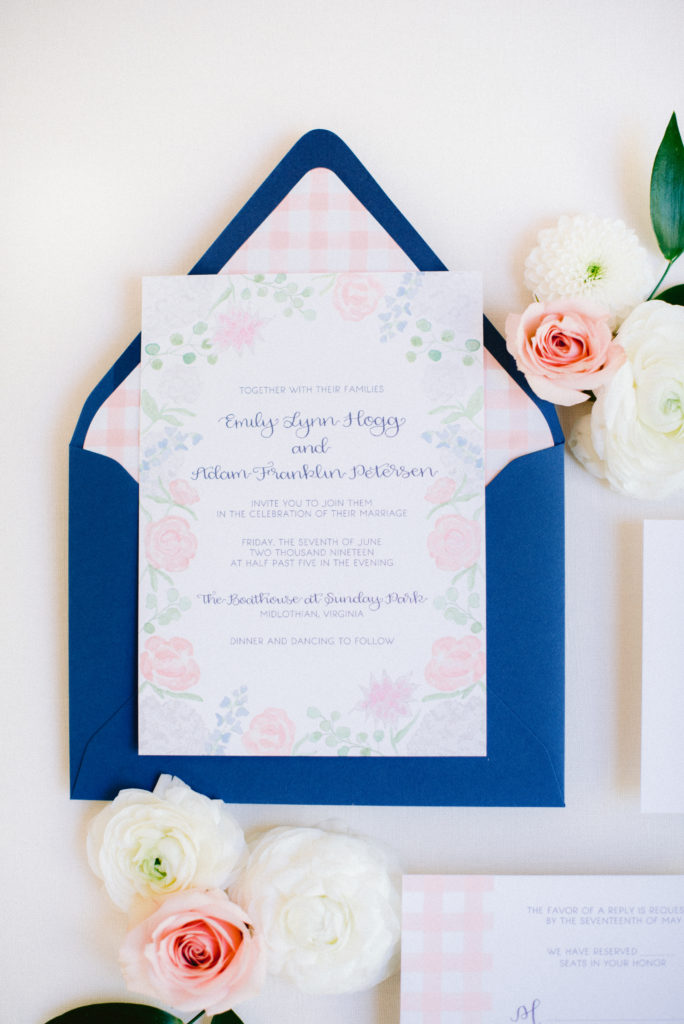
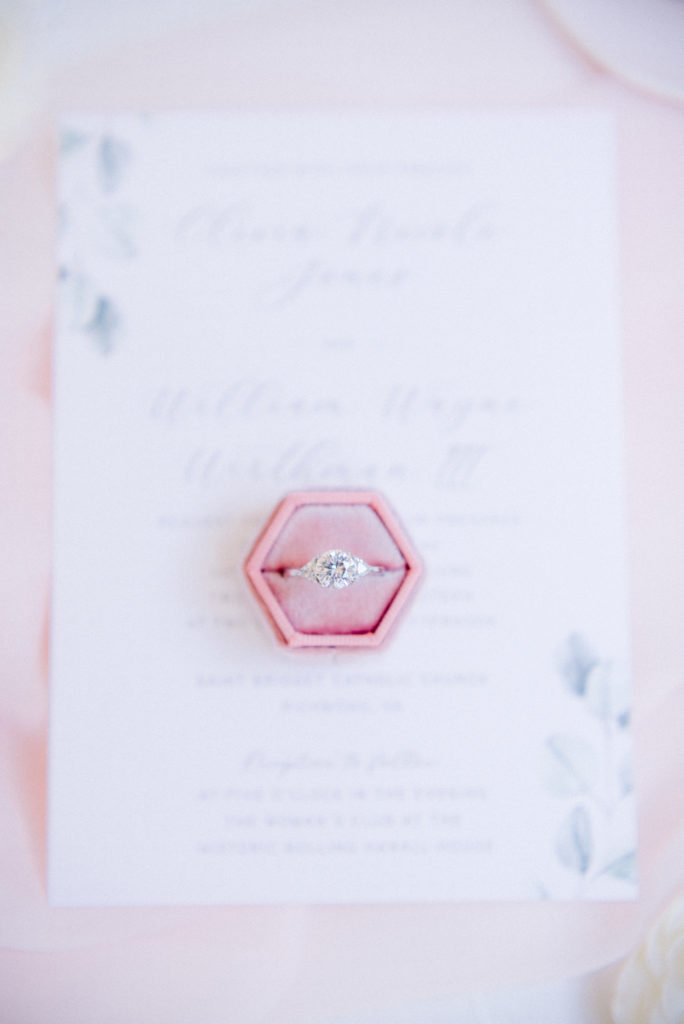
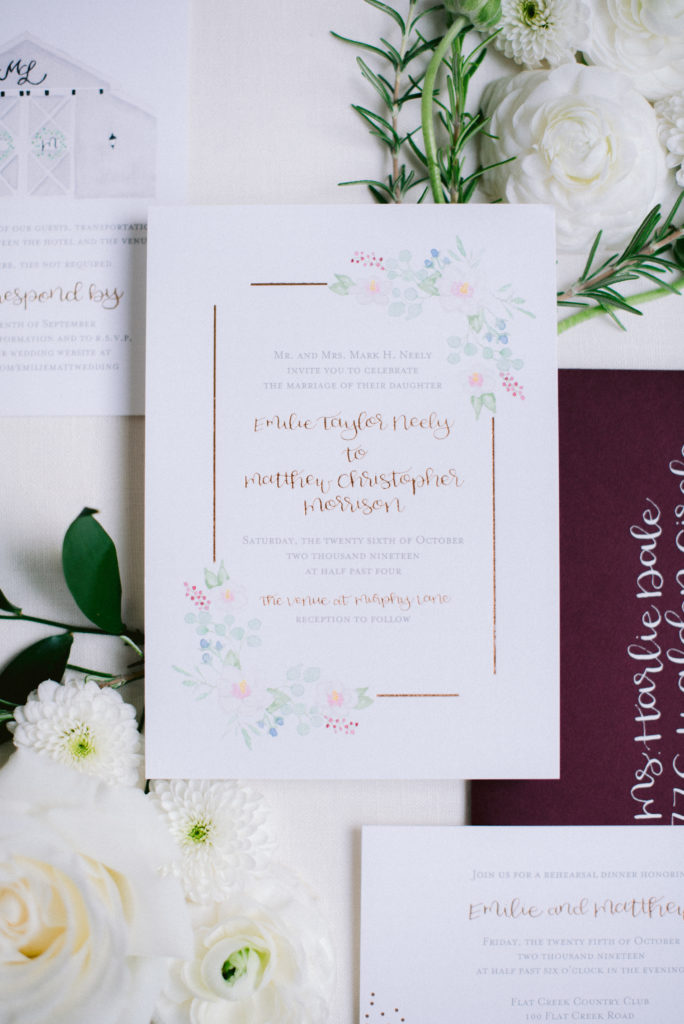
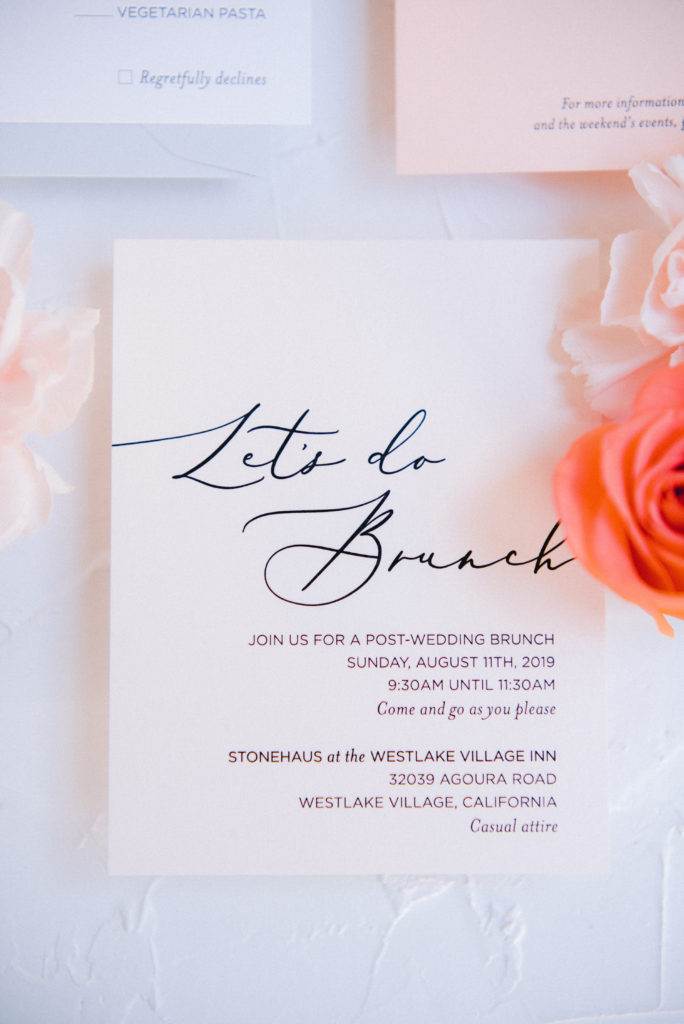
02. Use Real Flowers
Using real flowers will not only give it a romantic feel, but it will tie the invitation suite together or whatever you may be styling. You can tell a difference in artificial florals and real florals when photographing them. If you are styling all the details at a wedding you are shooting, ask the florist, prior to the day of, if she can set aside a few extra flowers and greenery for your flat lays. It will go a long way in styling and your florist will appreciate you featuring her beautiful blooms throughout the wedding details.
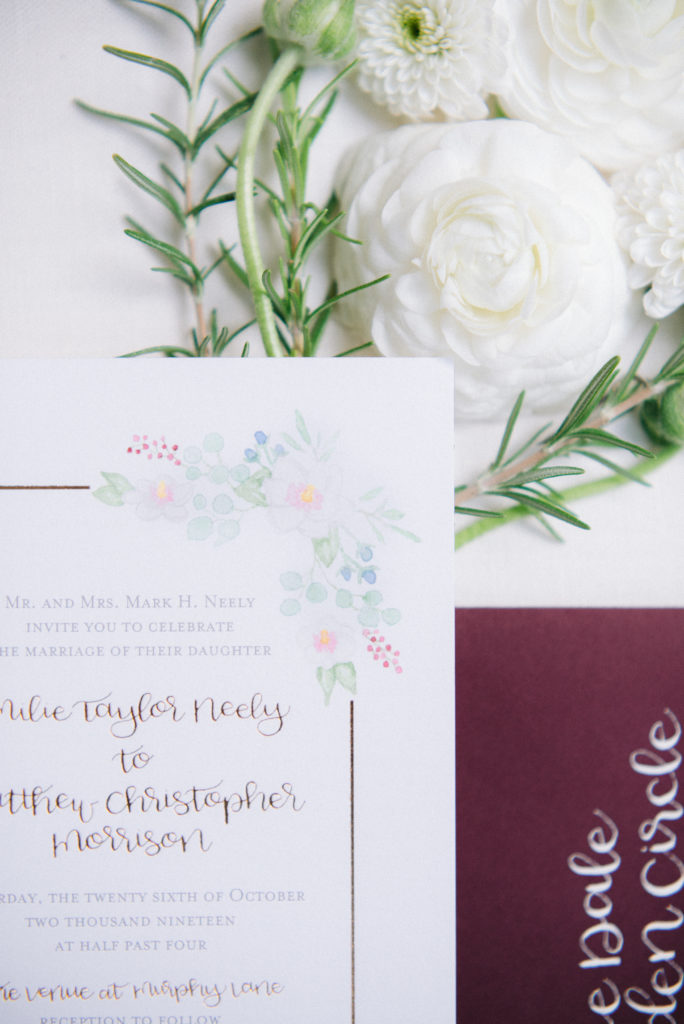
If you are styling at home, feel free to get creative! Go out to your backyard and get some rosemary, or some berries or leaves that would compliment your other florals. See below, who also decided to make an appearance on my styling board!

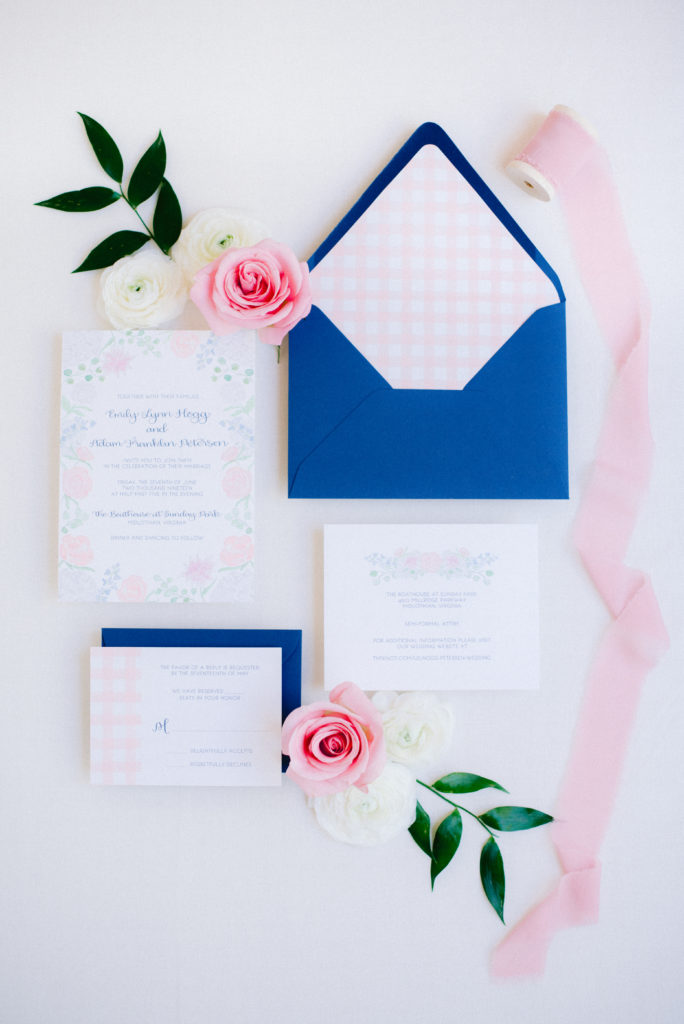
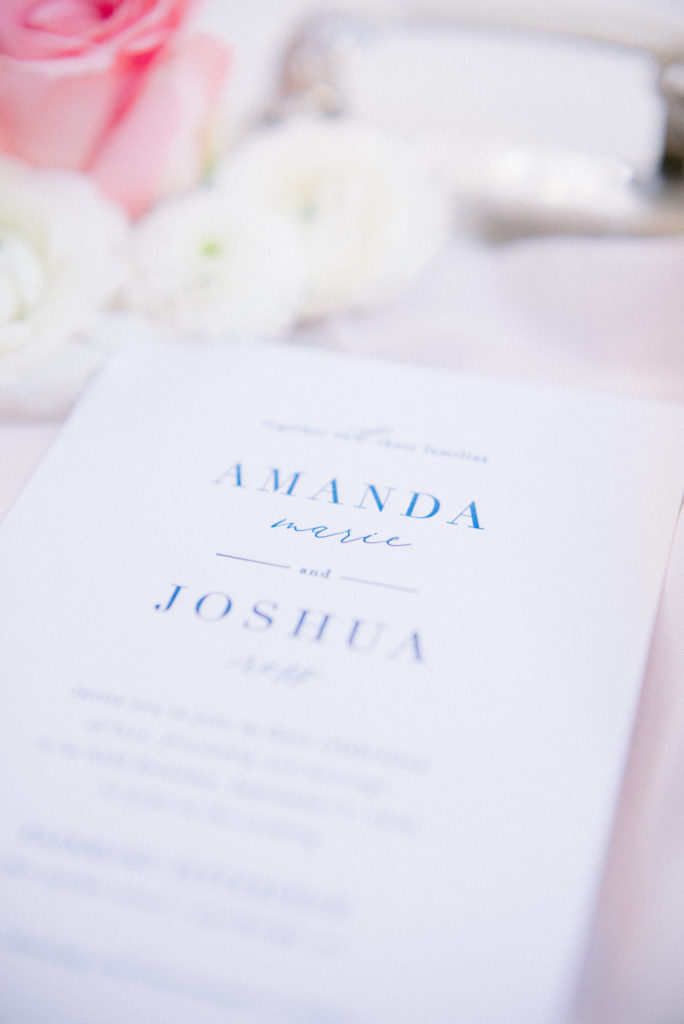
03. Start With Your Paper Goods First
When starting your flat lay, you always want to begin laying your invitations out first. Our eyes naturally read from left to right, therefore you are going to want to position the most important paper good more on the right side versus the left. In some cases this will not apply or you can definitely switch it up and center the invitation, but typically this is the rule I like to stick with.
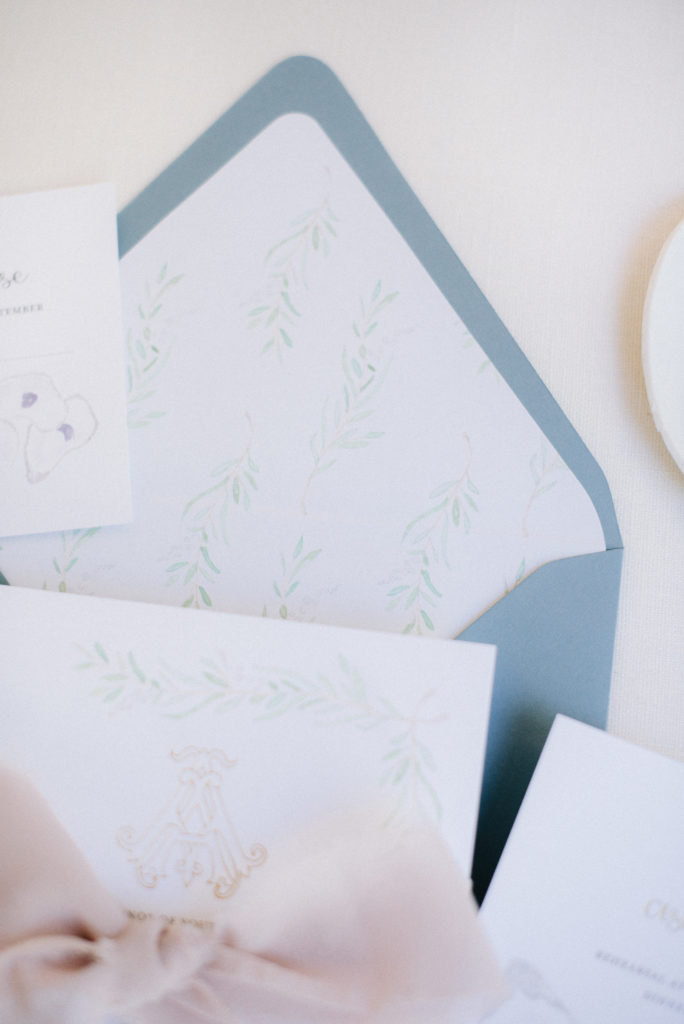
Add some depth with your invitations by using acrylic risers and place them under the paper goods to get the illusion it is floating. This will make your layout stand out because of the shadows created from the paper goods and creates visual interest. Raised paper goods also allows you to layer and overlap items, which will give you contrast and texture.
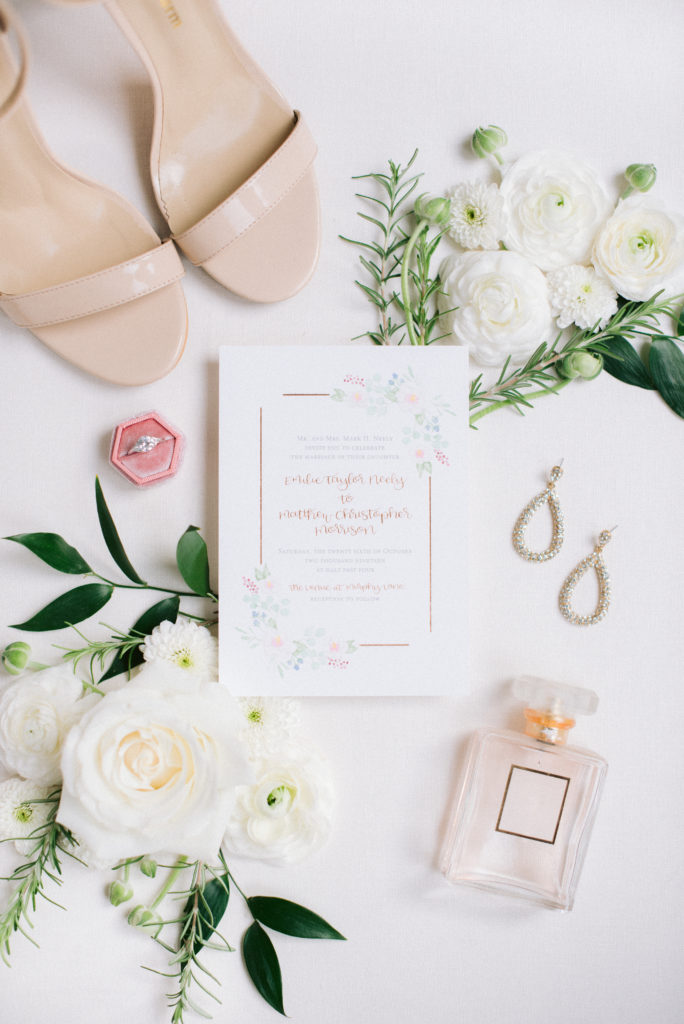
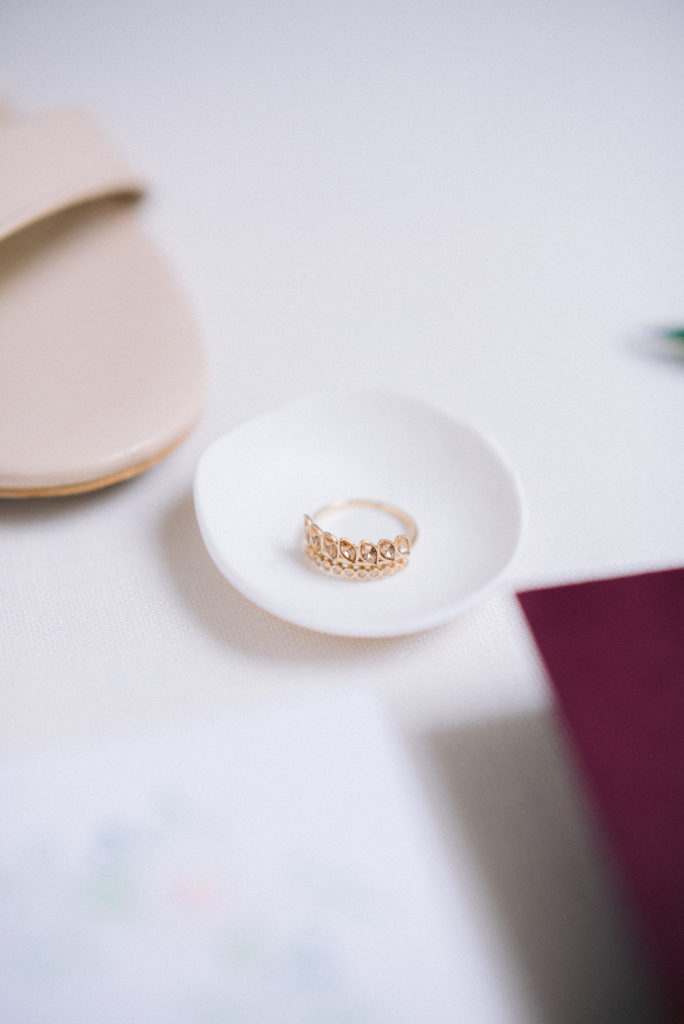
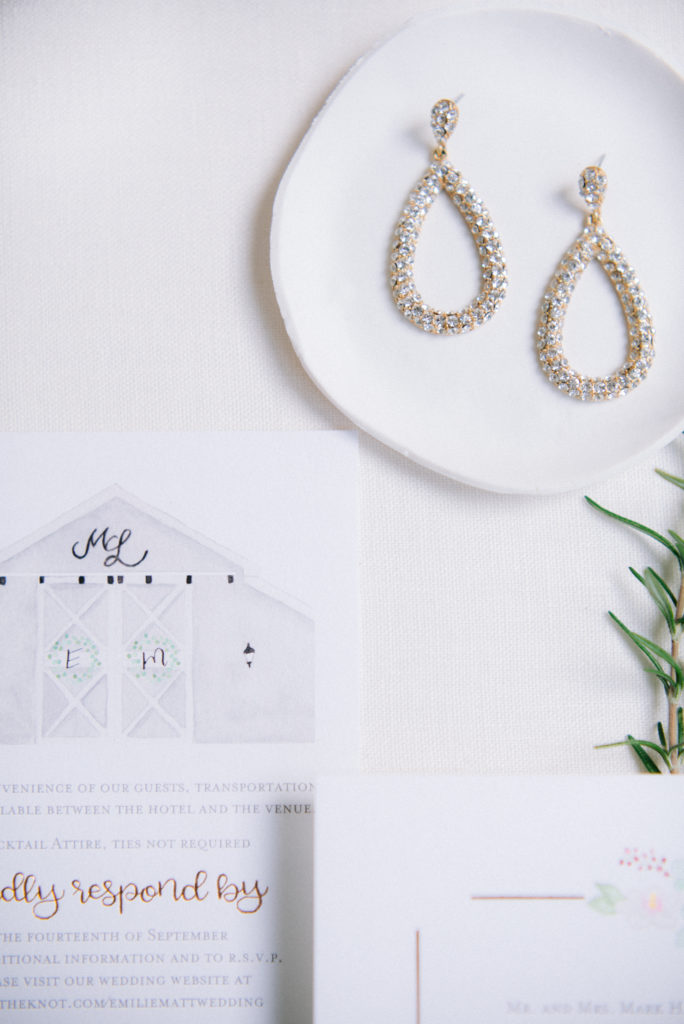
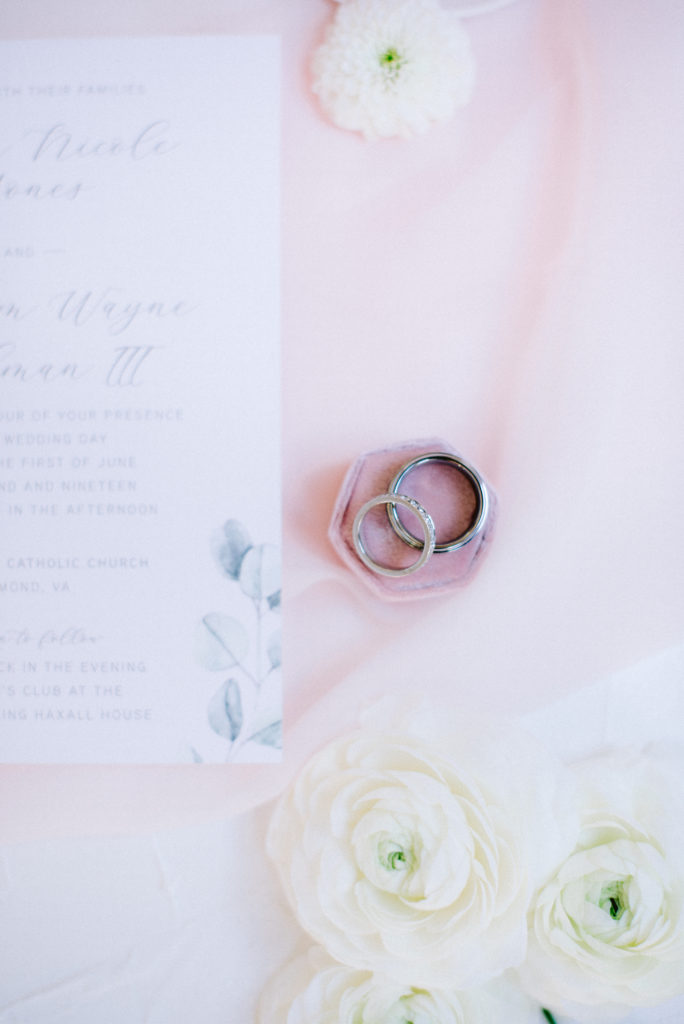
04. Accessorize + iPhone Tip
Gather rings, bands, love letters, ribbons, shoes, jewelry, trays, and anything else that would add to elegance and finesse as well as anything sentimental to your clients that you need to implement into your flat lay. Courtney Inghram, who provides floral design and is just so talented, owns her own ribbon shop, which you can find HERE. Her silk ribbons are all dyed by hand and the colors are so rich and beautiful; I highly recommend her silk ribbons!
Sometimes less is more. There are combinations that can work to execute your flat lay and there are also times where you can definitely over accessorize. If you are feeling that you are unsure, get up and walk around your flat lay, get different perspectives to give your mind a fresh point of view.
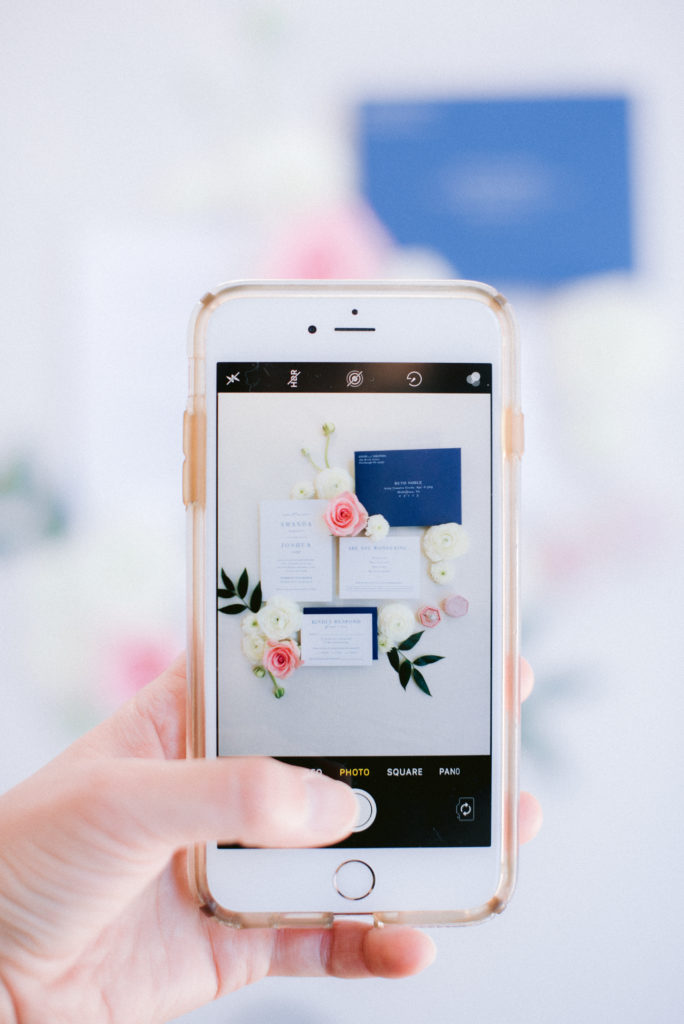
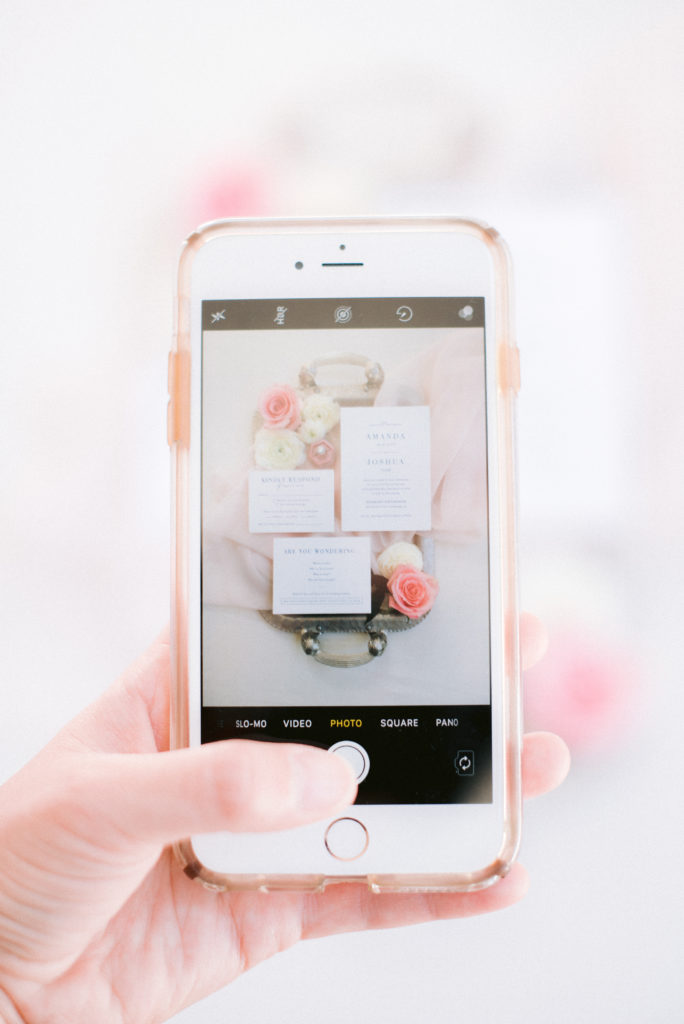
A super helpful tip I learned from my friend Molly, is to take your iPhone and take a picture of your flat lay. Looking at your flat lay through another lens and screen can help you find imperfections or a fresh view, it will also help you see better if your paper goods are crooked and need to be adjusted.
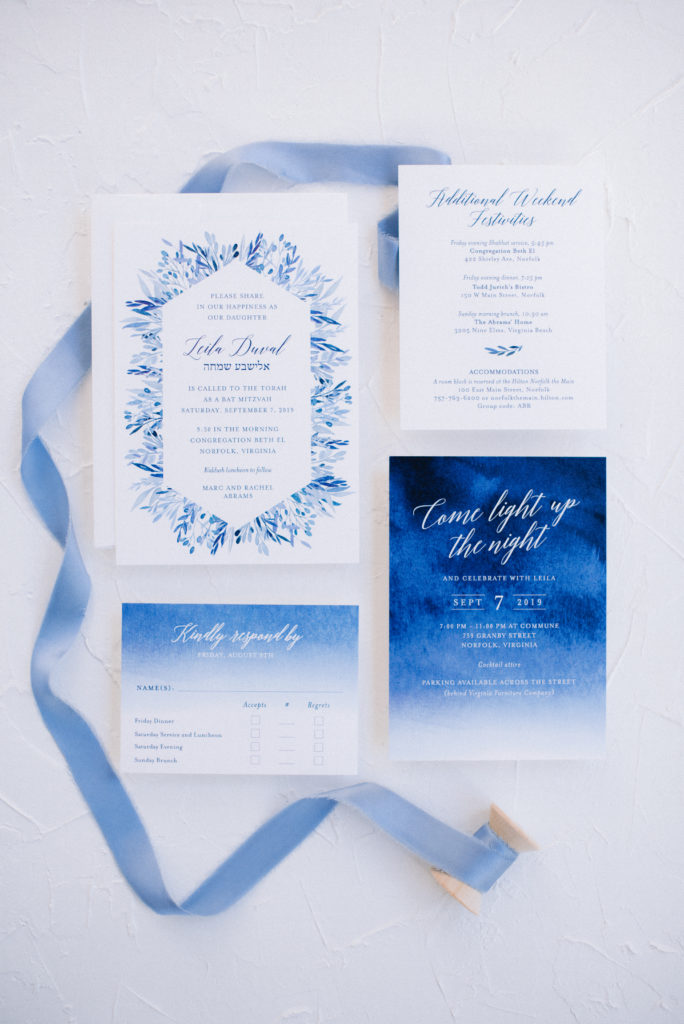
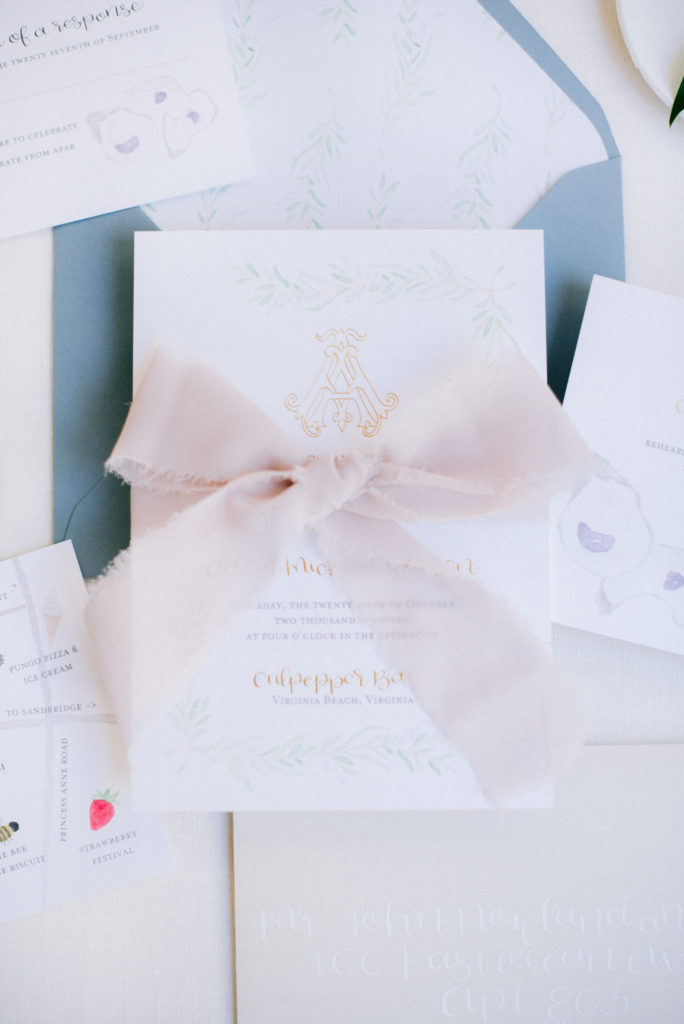
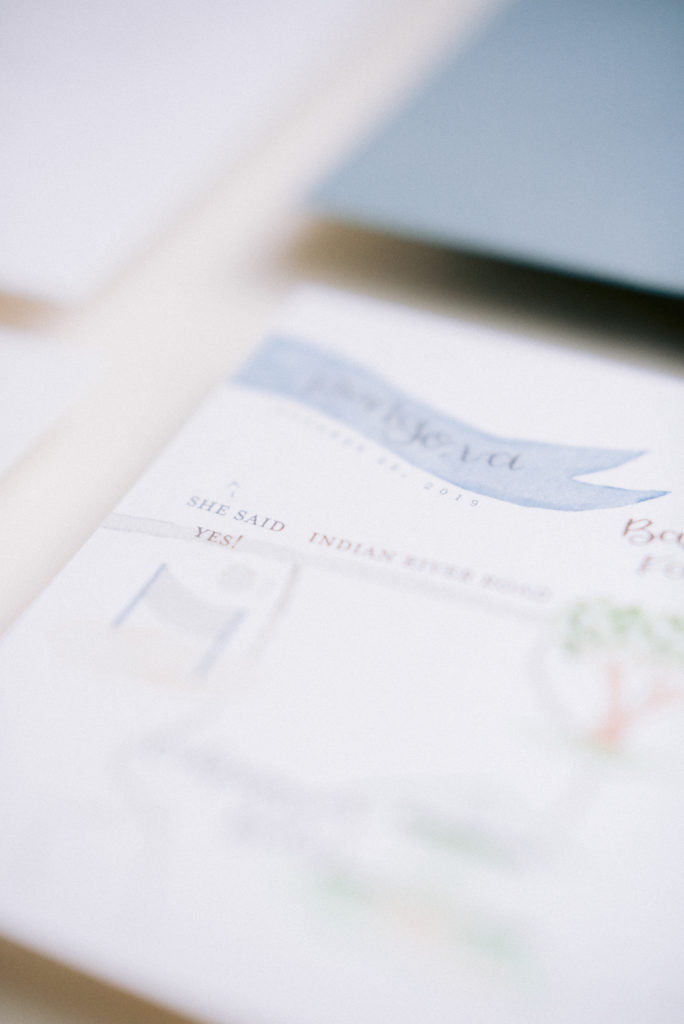
05. Shoot Different Angles
At this point, you have created art and you are going to want to capture all the details within your flat lay. Your clients have hired someone who beautifully designed their invitations and paper goods so you are going to want to capture the calligrapher’s seamless work and details!
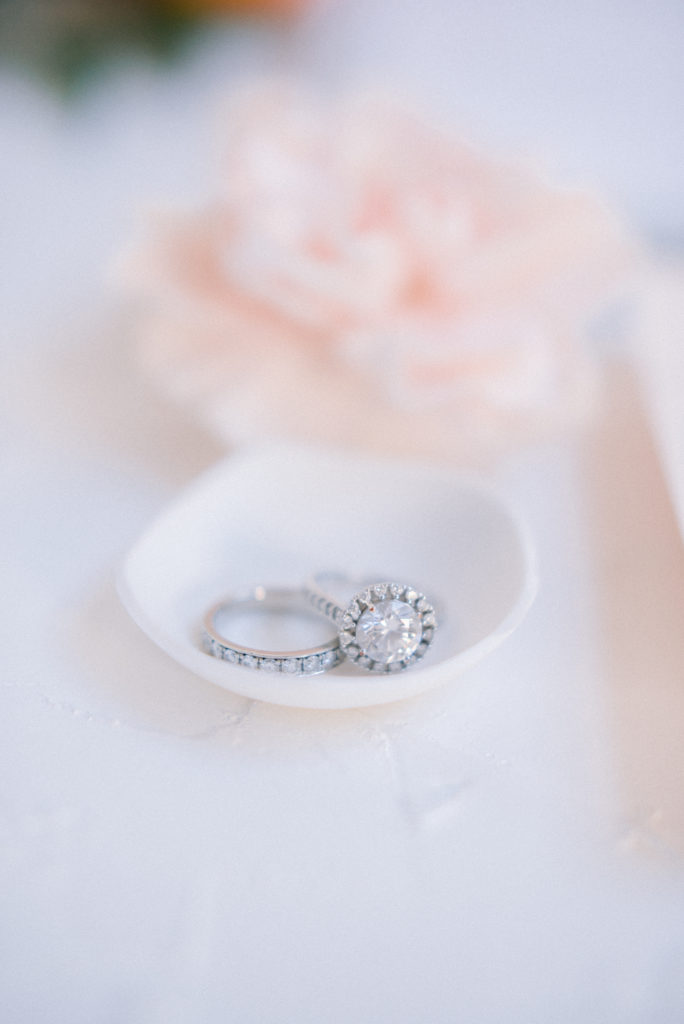
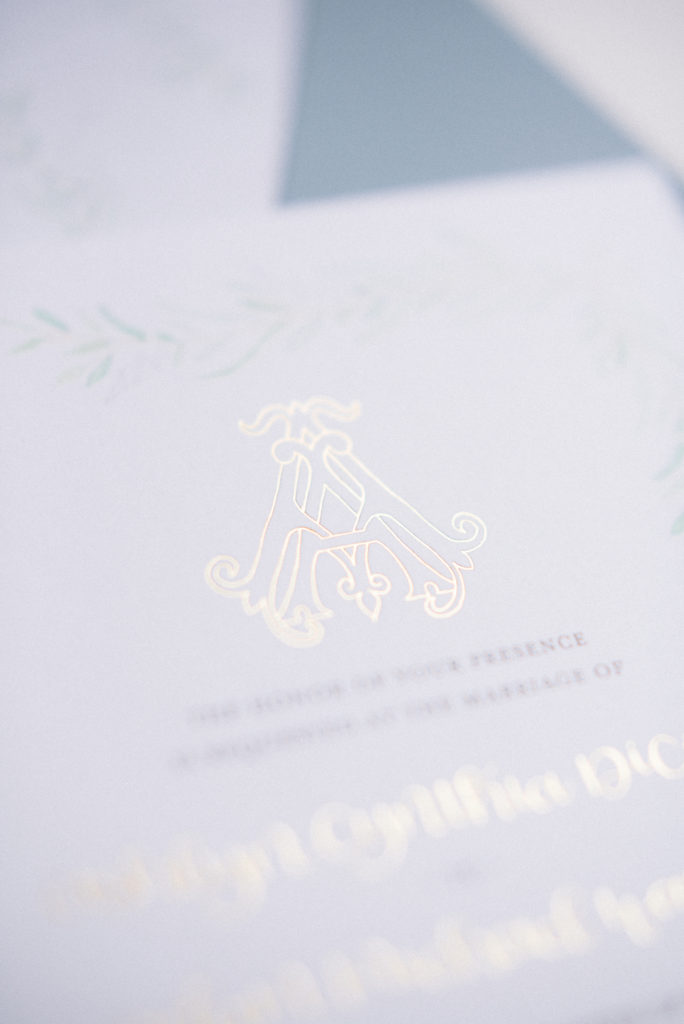
After photographing the flat lay from up above with every detail in one shot, start taking detailed shots of the invitation, the florals, ribbons, rings, shoes, etc… within that flat lay. If you notice anything that is extraordinary on the suite, don’t hesitate to capture it. Lauren had implemented gold foiling on one of the invitations she created and it was so beautiful, so I wanted to be sure I captured that characteristic.
Be sure to capture the rings, jewelry, and anything else that stands out to you. I like to take the flat lay and break it up in grids, going section by section and getting just about every angle of each section.
Now that you have a few tips to add to your flat lay game, I would love for you to adventure out and try these helpful tips for yourself!


Great content! Super high-quality! Keep it up! 🙂
Thank you so much!
Hey there, excellent website you have right now.
Thank you!
Hiya, I am really glad I have found this information. Nowadays bloggers publish only about gossip and internet stuff and this is really annoying. A good website with exciting content, this is what I need. Thanks for making this web-site, and I’ll be visiting again. Do you do newsletters by email?
Hi Sha! Thanks so much for visiting and I am so glad you found this blog post helpful! I currently do not have a newsletter, but I hope to have one in the nearer future!
Good write-up, I¡¦m regular visitor of one¡¦s site, maintain up the nice operate, and It is going to be a regular visitor for a long time.
Hi Suzie, thank you for your support!
May I just say what a comfort to uncover a person that actually knows what they are discussing
on the internet. You definitely understand how to bring an issue to light and make
it important. A lot more people must check this out and understand this side of your story.
I was surprised you aren’t more popular since you definitely have the gift.
Thank you very much and thank you for taking the time to check it out! So glad to hear that this helped you!